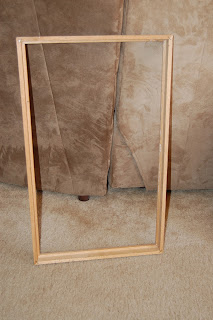
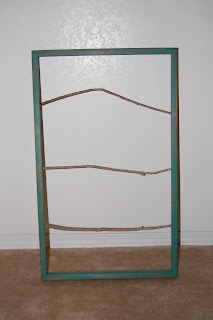
Here's the original frame - just your average thrift store find.
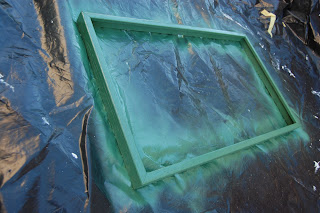
Spray paint & let dry.
I cut 3 fresh small branches from the tree in my yard. (Don't worry, the tree will be fine. It's been through a lot, and it's still alive). Freshly cut branches work well because they are fairly flexible.
I wanted my paint on the frame to have a bit of a distressed look. Steel wool works great to achieve this look, but I didn't have steel wool. So I used an old grill brush and scrubbed the paint down until I got the right results. (Just a note - make sure that paint on the frame is completely dry before bringing in your house and laying it on the kitchen floor while you scrub! Otherwise you may be scrubbing paint off your floor later. Speaking from experience. Did you know I'm impatient?)
Next I drew 3 dots on the inside of the frame to mark where I wanted the branches to sit. Make sure to do this on the opposite side as well.
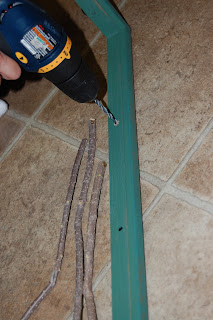
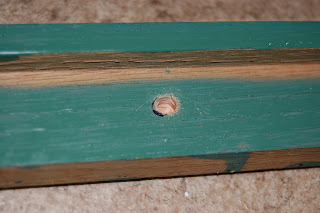
Then I drilled small holes (about 1/8 inch deep) into the frame on the marked dots. (Make sure to not drill completely through the frame.) This is the part where the husband helped. Until the this point, I didn't have much experience with a drill...other than playing with the one on display at Home Depot.
After this, I measured and trimmed the branches to correct length and whittled the ends of the branches to make them small enough to fit into the drilled holes. Ok, actually my husband did that part. Because he's nice.
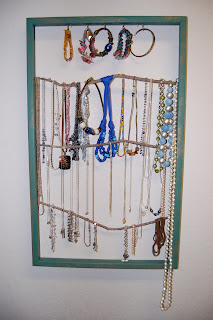
After I thought I finished the frame, hung it, and put all my jewelry on it, I realized that the top branch was down too low and it left a huge gap. Duh! I should have placed it higher on the frame. I hated that there was all that wasted space above the top branch. So I put a couple of hooks underneath the top of the frame and hung a couple of bracelets. Problem solved.
I loved doing this project. My husband liked it too. Especially the part about teaching me to use a drill (seriously!!!). And I really love that now I have all my jewelry hanging on display and easily accessible instead of digging through a pile of tangled necklaces (don't tell my mom!) in a jewelry box to find what I want.
Total Cost - $4 (the frame was $4, the branches were free, old grill brush instead of buying steel wool, and I used leftover spray paint from a previous project).
Total Time Spent - about 1 hour (not including the drying time, and the fact that our drill's battery was dead, so we had to charge it before we could use it. blah)
Easy & fun project, even for an impatient person like me! :)






No comments:
Post a Comment