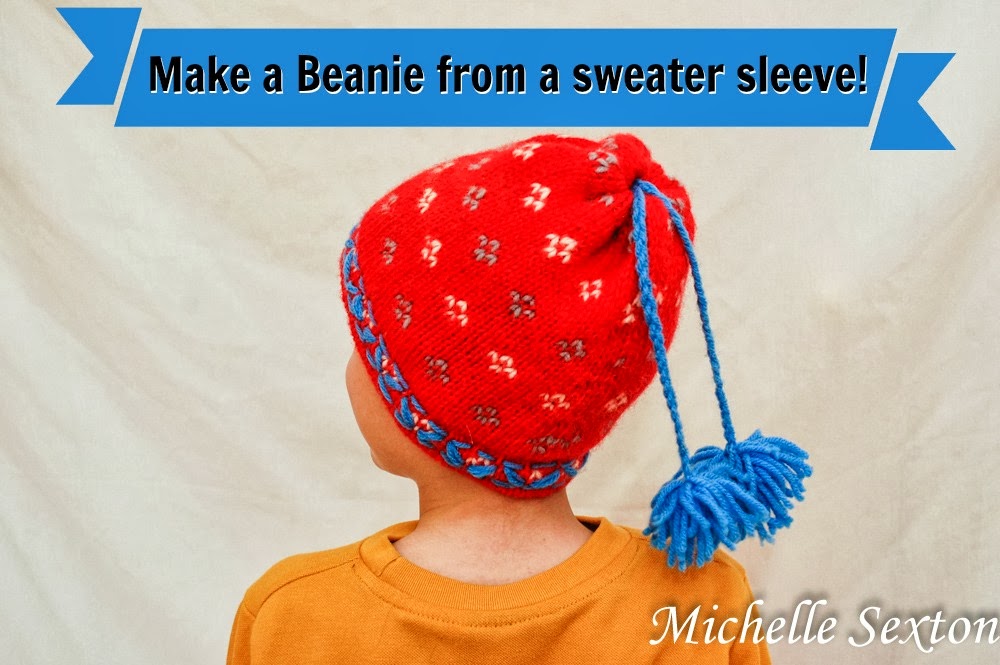
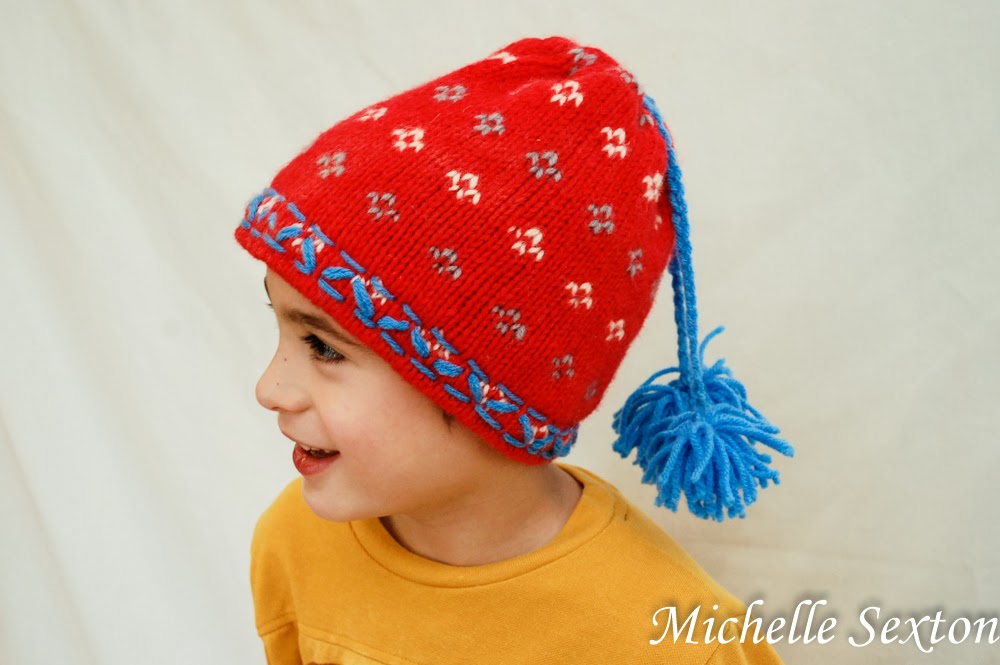
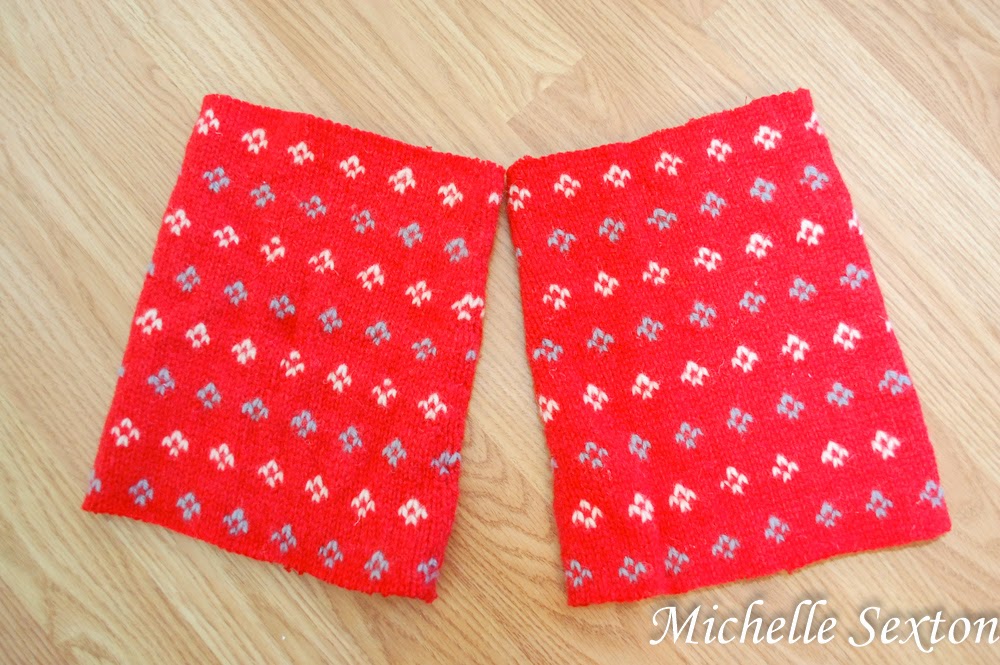
These beanies were made with the leftover material from an upcycled sweater project that I shared a couple of weeks ago. The sweater originally had gigantic baggy sleeves that proclaimed, "I'm so outdated!" They just had to go. So, I cut them off and made a cute pair of boot cuffs, and still had a bit of leftover sleeve material. Instead of tossing them, I thought, "Why not make hats for the boys?"
Here's the original sweater. It's a hand-knit wool sweater and a bit on the heavy side. This project is totally doable with the heavy wool sweater, but would probably work out even better on a medium-weight sweater. You'll need need at least 12 inches of a sleeve to work with (per hat).
Here's how I made these cute little beanies:
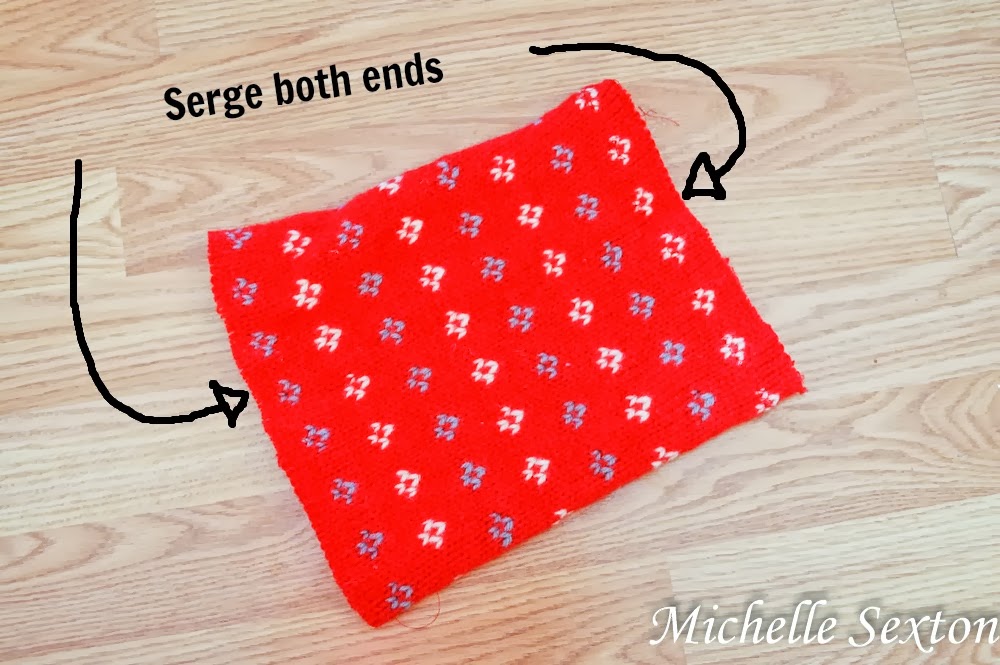
Start out by serging each trimmed end of the sleeve to prevent the sweater from unraveling as you work on it.
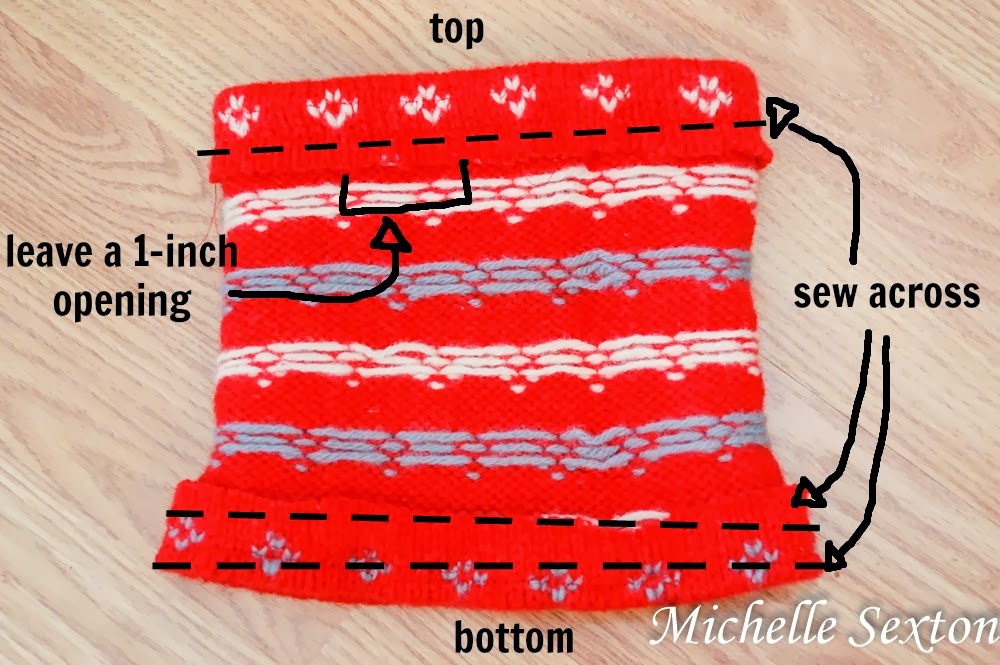
Turn the sleeve inside out, fold one end, and pin it. (This is the top portion of the hat. So, if the sleeve has a smaller end, it would be ideal to use the smaller end here.) Side note: the photo shows both ends pinned, but you can pin each end and work on them one at a time.
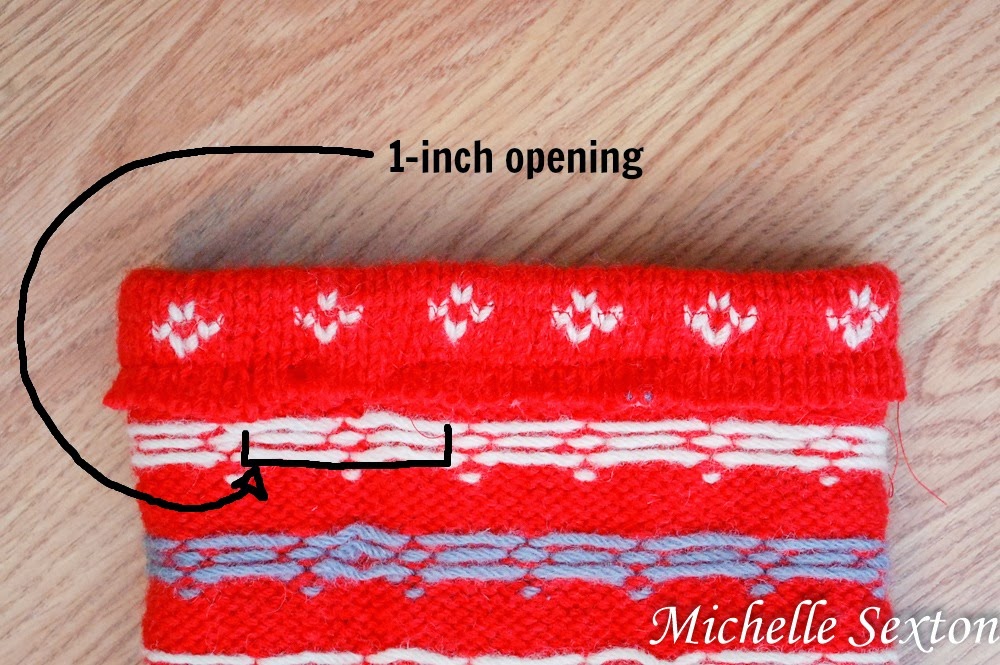
Sew a line about 1 inch above the fold of the sleeve, leaving a 1 inch opening between the starting and ending points. Be sure to run the sewing machine forward and backward a couple of times to prevent the stitch from unraveling (at the starting and ending points), especially since the ends are not connected. (I used a serged stitch here, but a straight stitch would be fine too.)
While the sleeve is still inside out, fold the opposite end of the sleeve over, pin, and sew two separate lines over the folded portion. Make one about 1/4 inch above the fold and one about 1 inch above the fold to create a faux brim. This time, make sure to connect the beginning and ending points.
Guess what? That's all the sewing needed! For. Real. Gasp!
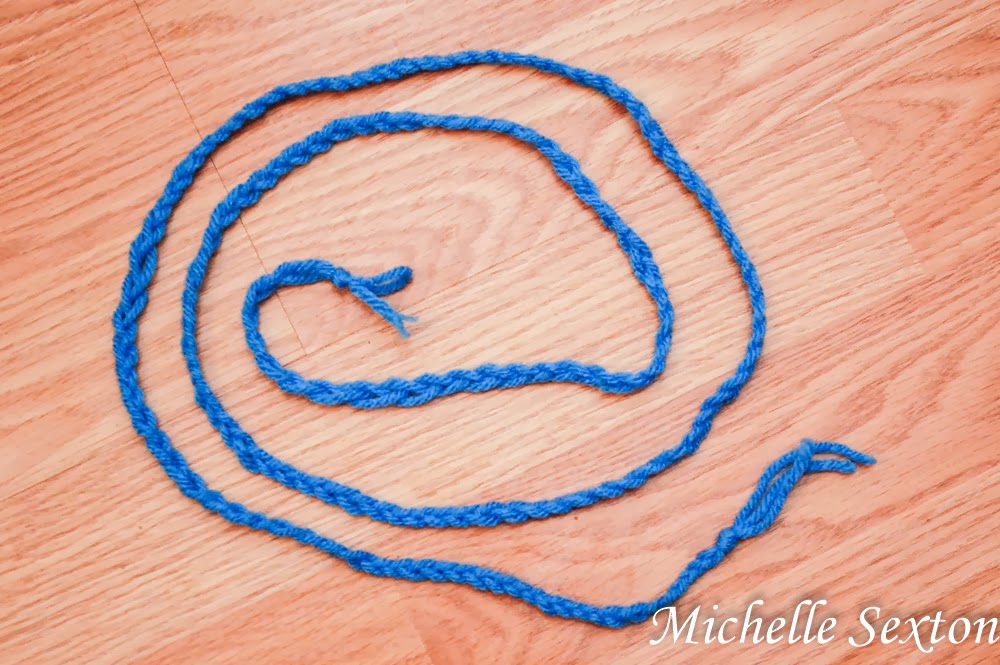
Set aside the sleeve/hat. Braid three strands of yarn into approximately the length of 2 feet.
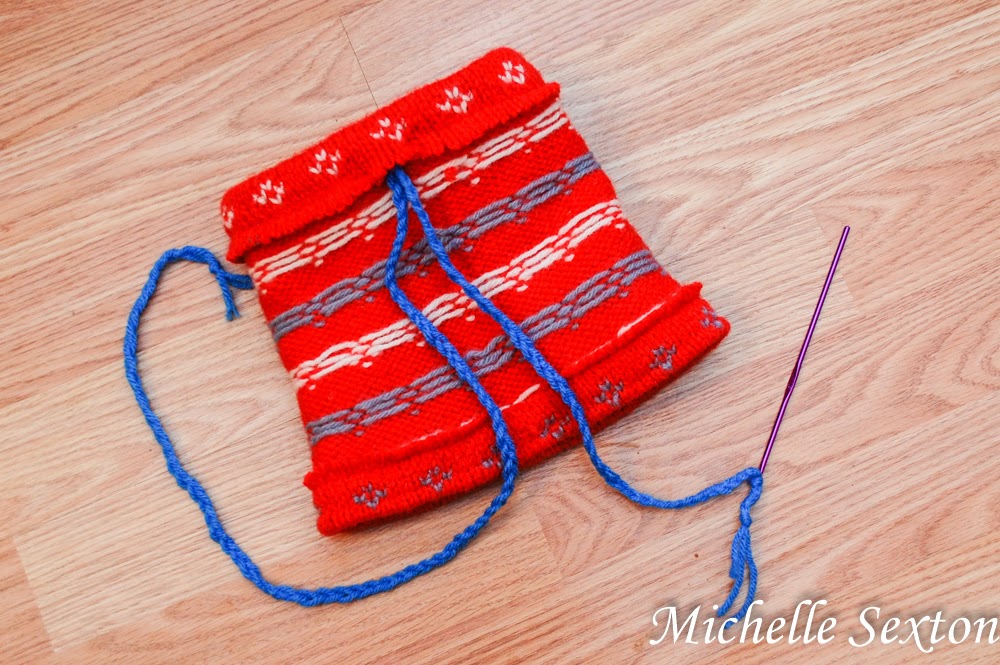
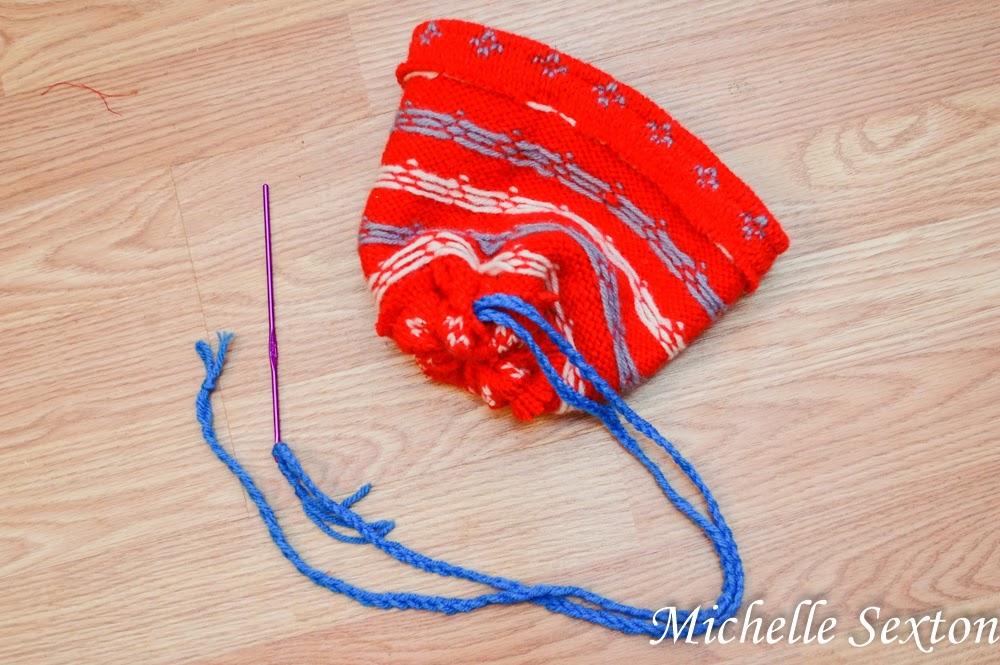
Tie one end of the braided yarn onto a small crochet needle. Thread the yarn through the top opening of the hat (the end with the 1 inch opening) and out the other end to create a "drawstring".
Pull the yarn tight and tie square knot. Turn the hat right side out and pull drawstrings through the small opening at the top of the hat.
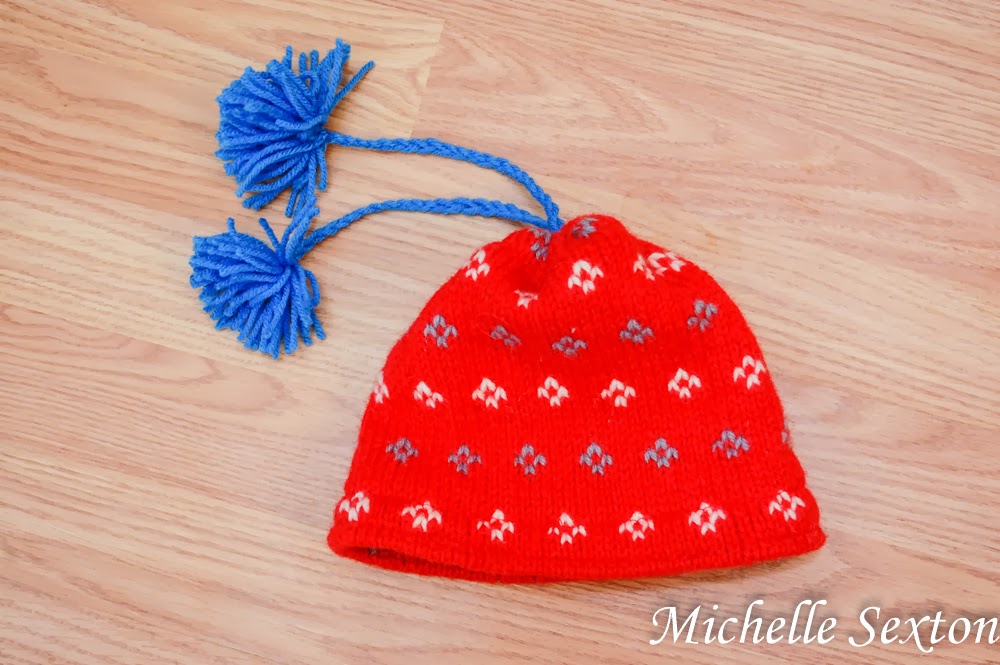
Trim the ends of the drawstrings, leaving approximately 8 inches (or more if you like), and tie off the ends. Make two pom poms and attach them to each end of the drawstring.
Double threaded a plastic needle with yarn, then "embroider" a cute pattern onto the "brim" of the hat.
Wa-La! That's it! Easy-Peasy. Who would have ever thought to make a hat out of a sweater sleeve??
:)








3 comments:
This is so cute! This is definitely something I can do. I also really love the sweater pattern!
BRILLIANT!
What a neat idea!
Post a Comment