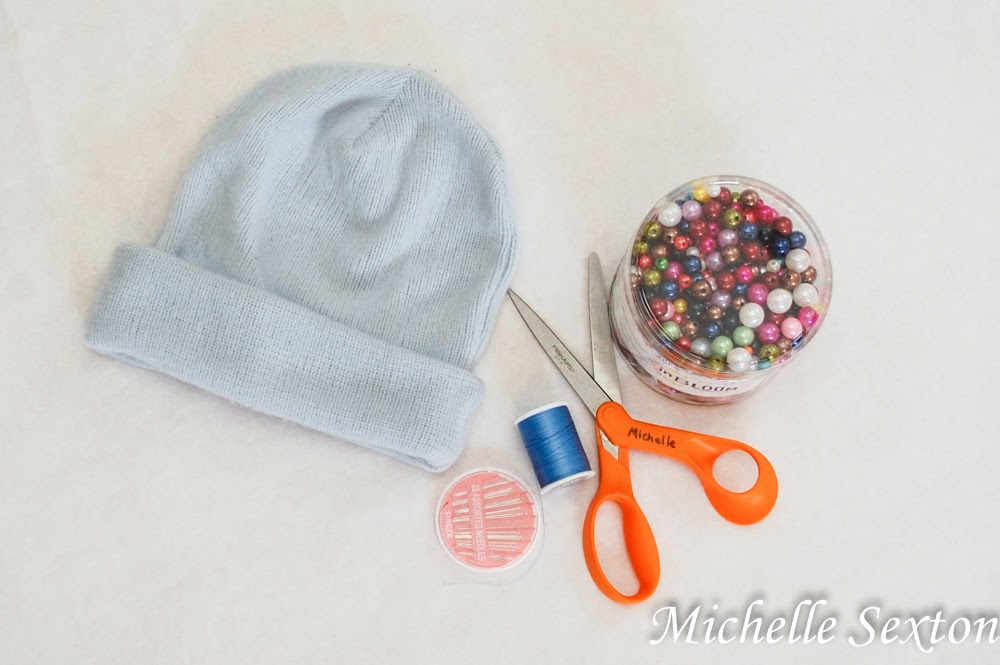
- an assortment of faux pearl beads
- a beanie
- needle
- thread
-scissors
Bam that's it! Don't you love it when there's only a couple of items needed for a project? I do.
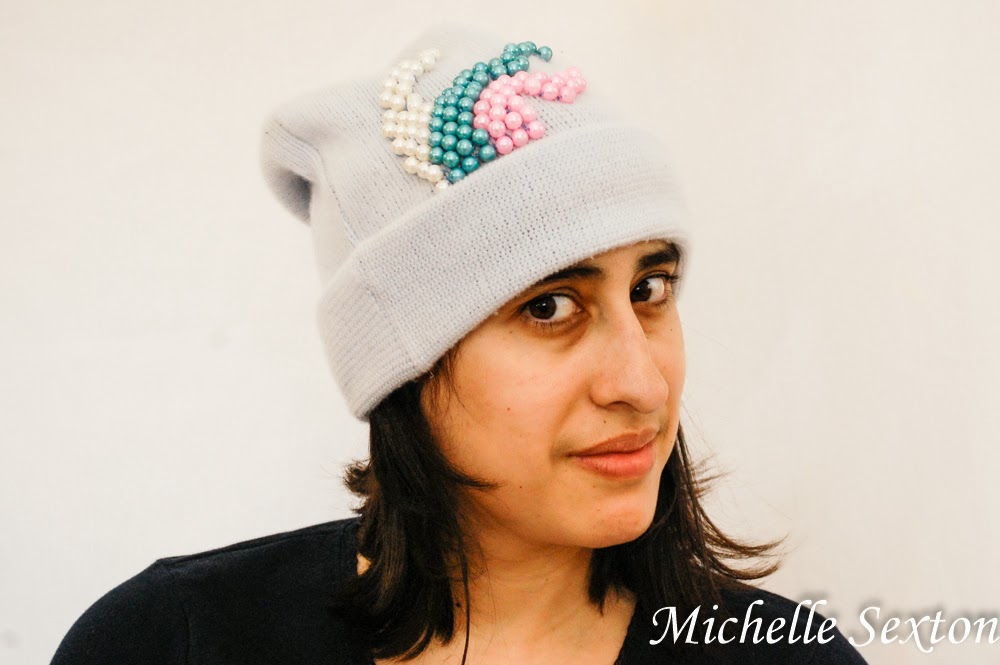
So here's how I made this awesome beanie:
 |
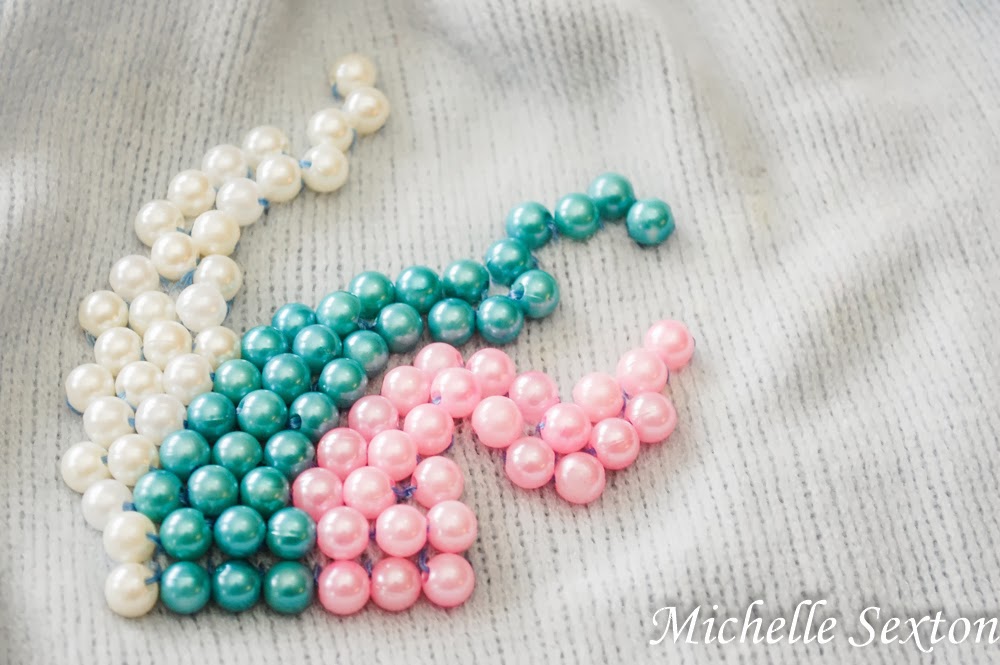
| Original arrangement taken with cell phone photo to use as a reference |
Arrange the beads until you find a design that you like. Take a picture of it to use as a reference guide. (I snapped a photo using my cell phone.)
A couple of recommendations for the stitching beads:
- Double thread the needle, just to keep each bead extra secure.
- Stitch each bead to the hat three times before tying it off and moving onto the next.
- Knot each individual bead to the hat separately, even if you don't cut the thread after each bead. This will keep you bead loss to a minimum if the beads get caught on something.
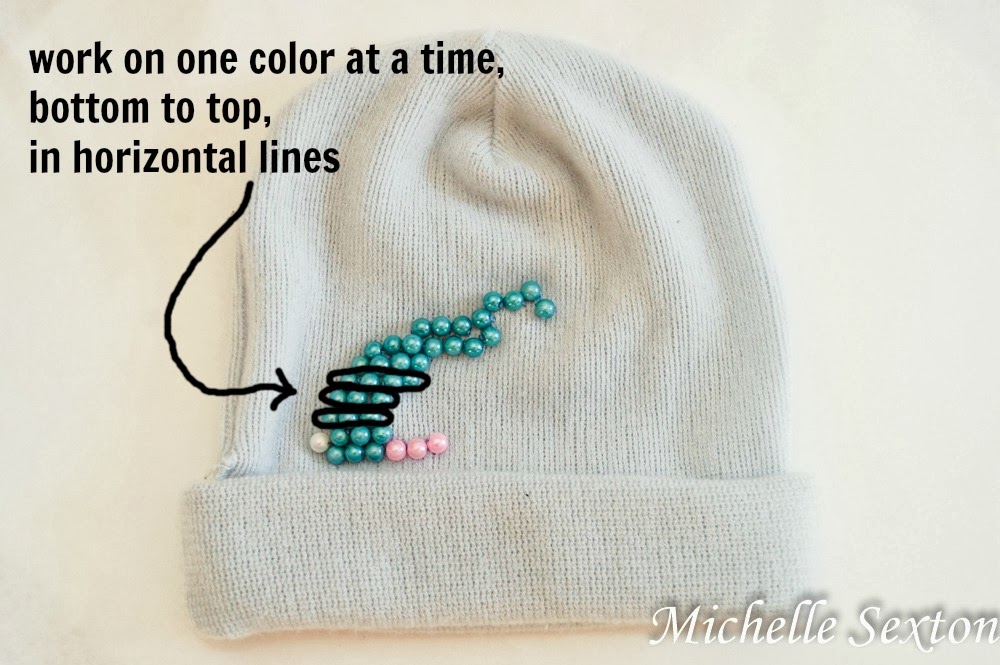
Start out by stitching the entire bottom row of beads (all three colors), just above the brim. I recommend marking each spot with chalk where each bead is to be sewn. (I didn't do this, but only because I didn't think about it until afterwards. Duh.) The bottom row will give you a foundation to work off of.
Once the bottom row has been completed, continue by stitching the center color (mine was blue), working your way from bottom to top, horizontal row by horizontal row, until the entire color section has been completed. Be sure to reference your "prearranged" picture every so often to keep track of the progress.
After completing the center color, continue with the next color (either side is fine). Again, work your way up to the top, completing one horizontal row at a time.
Repeat again with the final color.
Simple? Definitely. The hardest part of this project was finding uninterrupted time to sit down and work on it, which rarely occurs before 7:30 PM. Life of a mom, right?


3 comments:
This is sooo cute!
Very cute!
Sharon and Denise
Cute! I love the colors of the pearls!
Navy Wifey Peters @ Submarine Sunday Link Party
Post a Comment