Supplies needed:
- zip-up hoodie
- denim jacket
- basic sewing supplies (sewing machine, scissors, thread, and pins)
Let me first give you one quick note about matching a denim jacket with a hoodie. For the best rest results, it's important to find a hoodie and denim jacket that are close in size as well as the same sized sleeve openings, near the armpit, since you have to slip the hoodie into the arm hole openings of the denim jacket. Also, make sure both the denim jacket and the hoodie are freshly washed and wrinkle free. Got it? Good.
The hoodie that I used in this project had a bunch of stuff sewn onto the front. I felt like most of it detracted from the jacket as a whole, so I ripped out the letter seams and removed the letters from the front.
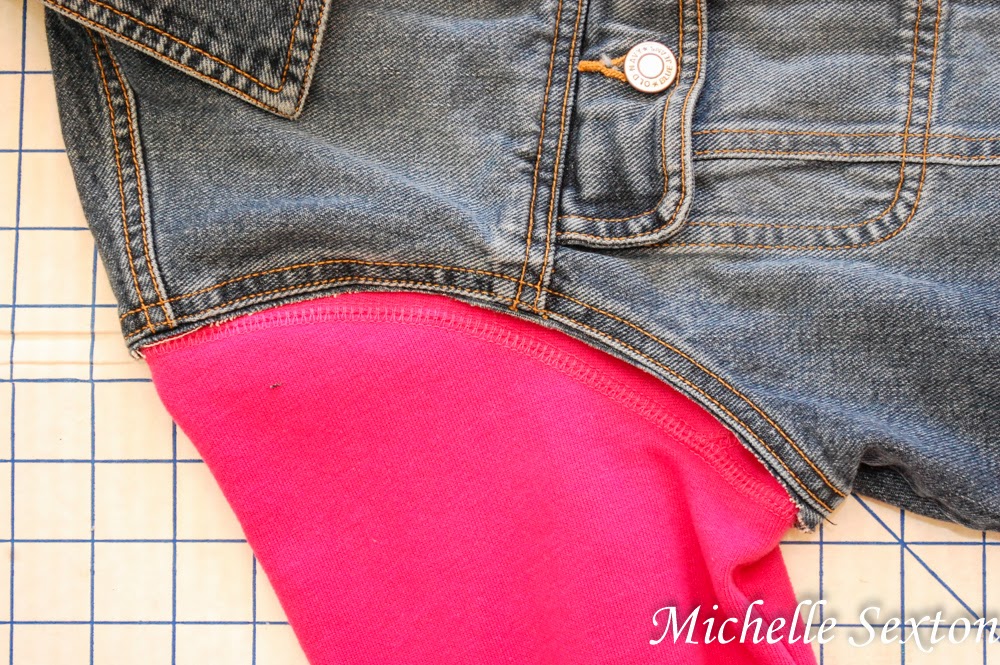 |
| Line up the seams as best as possible |
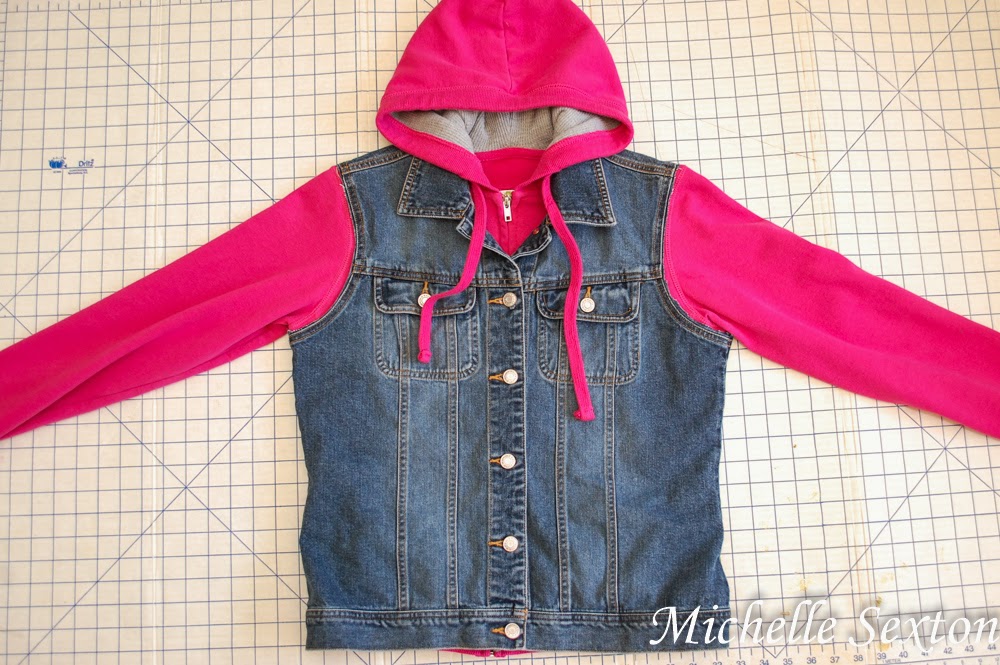
Next, insert the hoodie inside the denim vest. For best results, work on a flat surface. Button each button and zip up the hoodie. Smooth out all the wrinkles and folds and line up the side and shoulder seams of the hoodie with the seams of the vest as close as possible.
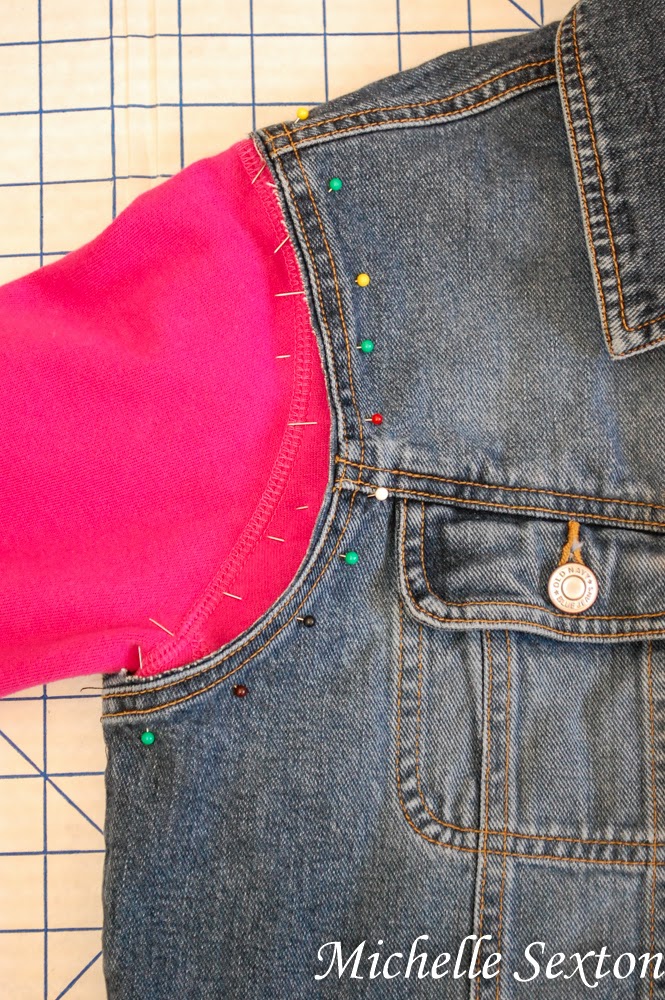
Carefully, pin the hoodie to the vest at both arm openings. This portion is not hard, but takes a little patience. Be sure that the seams from the vest and hoodie line up as closely as possible while pinning. This is truly the most important step of this project.
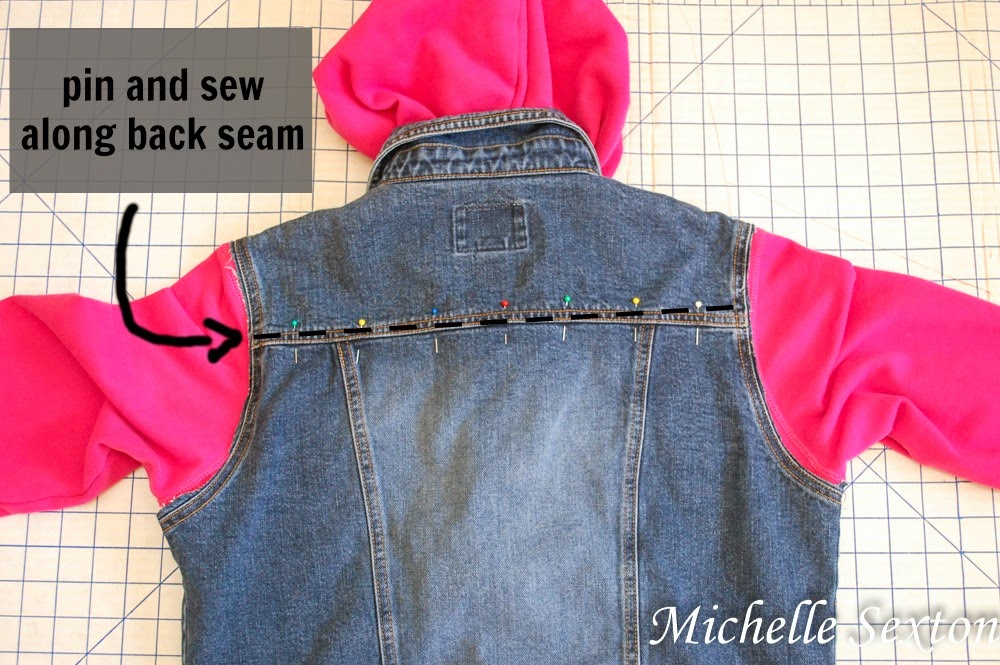
Once the pins have been placed on both the left and right sides of the sleeve openings, sew the vest and jacket together at the sleeve openings along the seam of the denim jacket or in between the two seams of the arm holes. I began sewing at the armpit of the vest on the backside and worked my way over the backside towards the front. Repeat the same process on the opposite arm hole.
 |
| Additional seam sewn across back for added security |
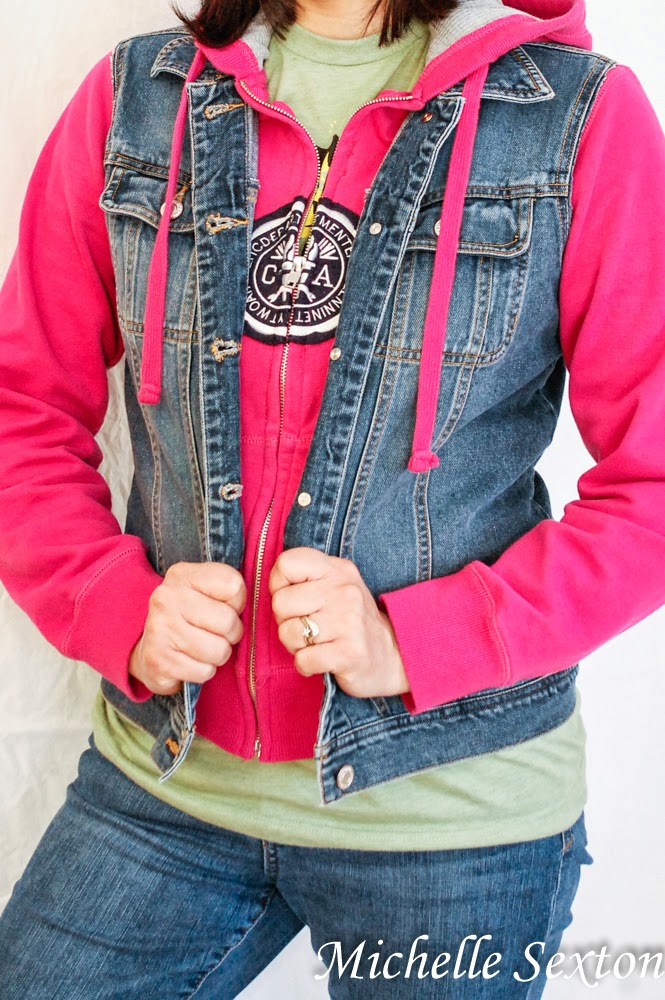
BAM! That's it! After I finished, I just sat there, amazed and speechless over how easy and awesome this jacket turned out. I didn't even mess up!!! (I usually end up ripping out a couple of seams on each sewing project). Ha!
Love it? Guess what? Just when you thought this project couldn't get any cooler, it does. I have one more amazing upgrade for this jacket. Click here to see how I stenciled the back. I promise you won't be disappointed :)


.jpg)



1 comment:
What a creative idea. It looks great!
Post a Comment