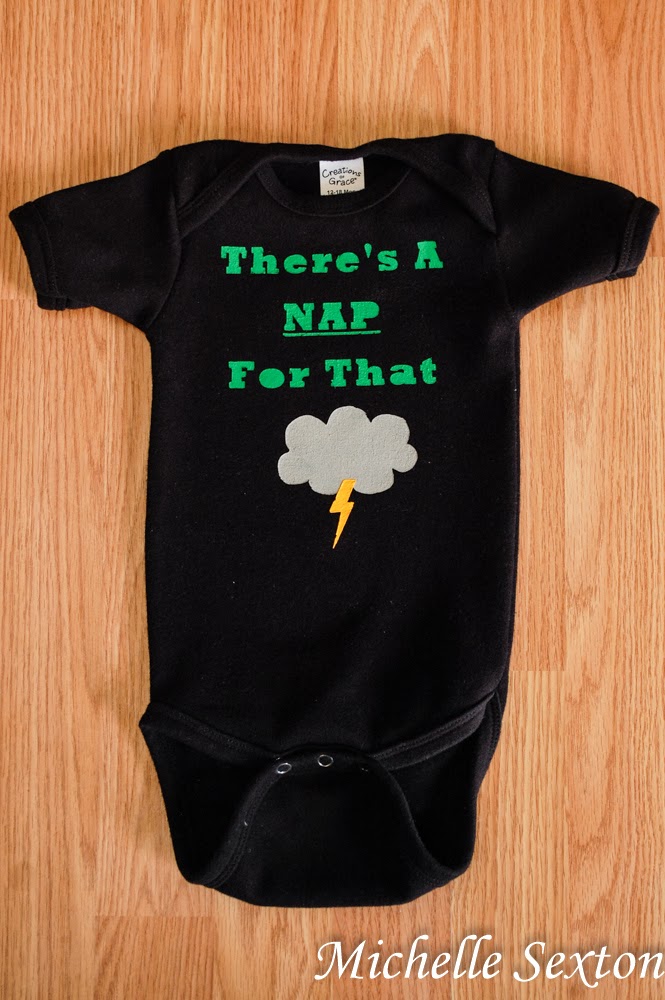
Oh wait, did you guys even know that I have a Silhouette? I do! You want to hear the terrible part? We bought it about two and half years ago, but I haven't used until a couple of weeks ago. Gasp! I know! The reason I hadn't used it until recently was due to the fact that it was purchased about a month prior to the day Cheese was born. I had serious pregnancy brain back then and there was no way I could think about anything creative. Yeah, so my husband used it a couple of times to create a couple geeky role playing games and it got set aside until recently. Such a sad story, but the good part is we are back in Silhouette business now! Woo hoo!
Supplies needed:
- onesie
- fabric paint or acrylic paint (I used acrylic)
- sponge brush
- freezer paper (one 8" x 8" square)
- Silhouette (or printer, exacto knife, and cutting mat/board)
- iron
Ok, friends, you have two ways to make this: with a Silhouette or with just a Printer. Obviously, if you don't have a Silhoutte, you should go for the printer option.
If using a Silhouette, download this file. Place the sheet of freezer paper onto the cutting mat, shiny side up. Cut the freezer paper using the Silhouette. Carefully peel the freezer paper stencil off the cutting mat, making sure not to tear the freezer paper.
If using a printer, download this PDF and print it. Tape the printed template onto a cutting mat, place the freezer paper (shiny side down) over the printed template and tape it down as well. Using an exacto knife, cut around the printed letters and shapes to create a freezer paper stencil.
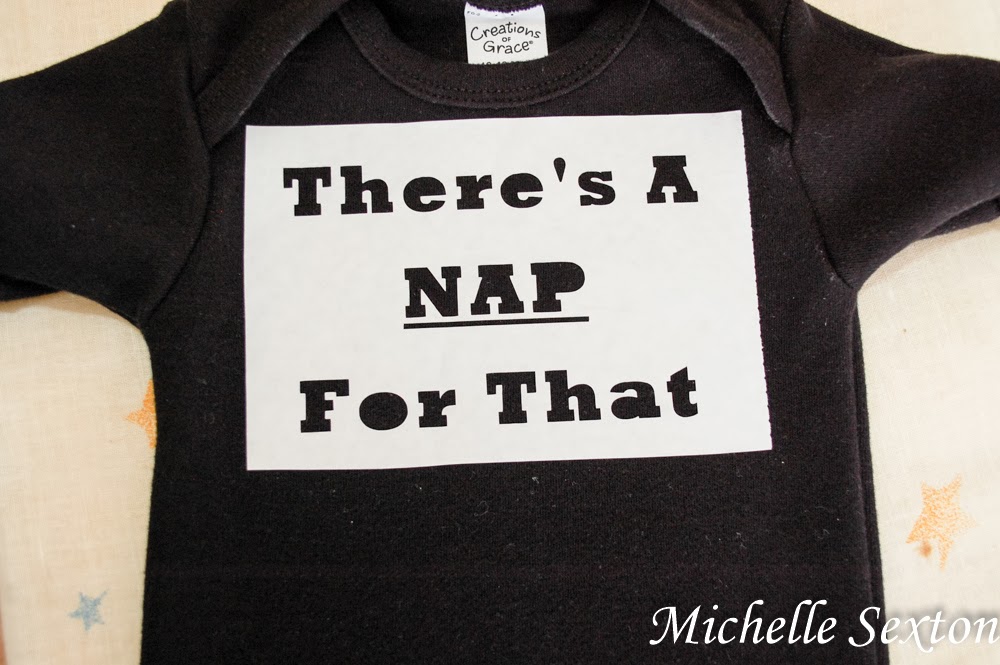
Ok. So, at this point, you should have a super awesome freezer paper stencil that was either cut with the Silhouette or by hand. It should look like the one in the photo above. Cut the cloud, lightning, and letters into three separate sections.
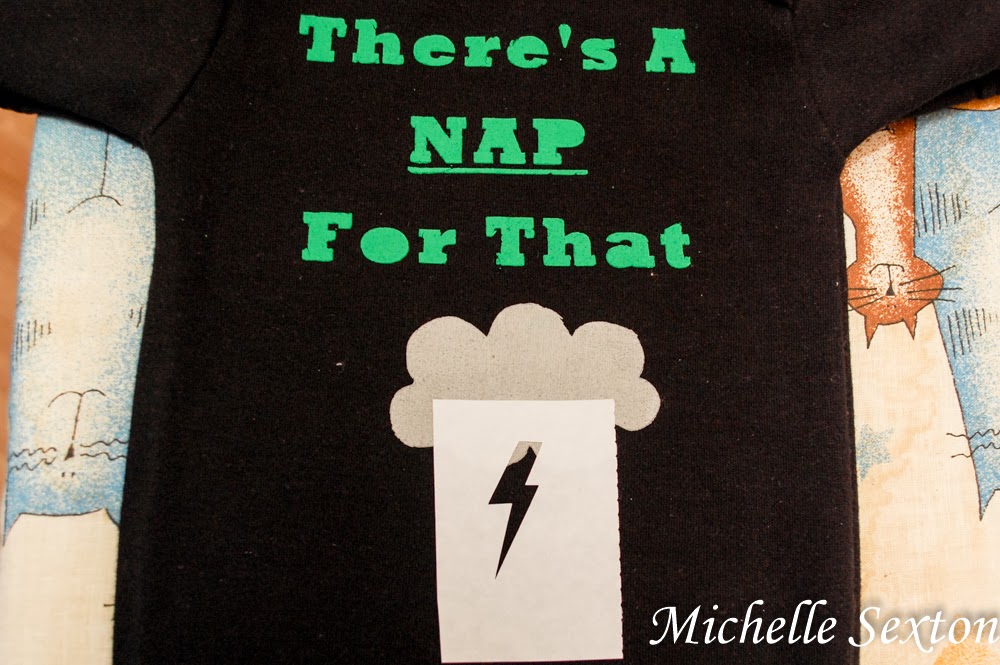
Arrange the letters and cloud freezer paper stencils (shiny side down) on top of the onesie and iron with dry medium heat until the freezer paper adheres to the fabric. Be sure to iron over all the corners and small cuts. (Side note: I hate small intricate details, so I chose not to use the center cut outs for letters the R, A, P, and O. However, if you prefer to use the center cut outs for the letters, go for it and iron those on! P.S. I admire your patience!!)
Place a piece of cardboard inside the onesie, underneath the stencil area, to prevent the paint from bleeding through onto the backside. (I didn't actually do this, because I forgot. I totally lucked out because the onesie fabric was thick enough to not allow paint to bleed through.)
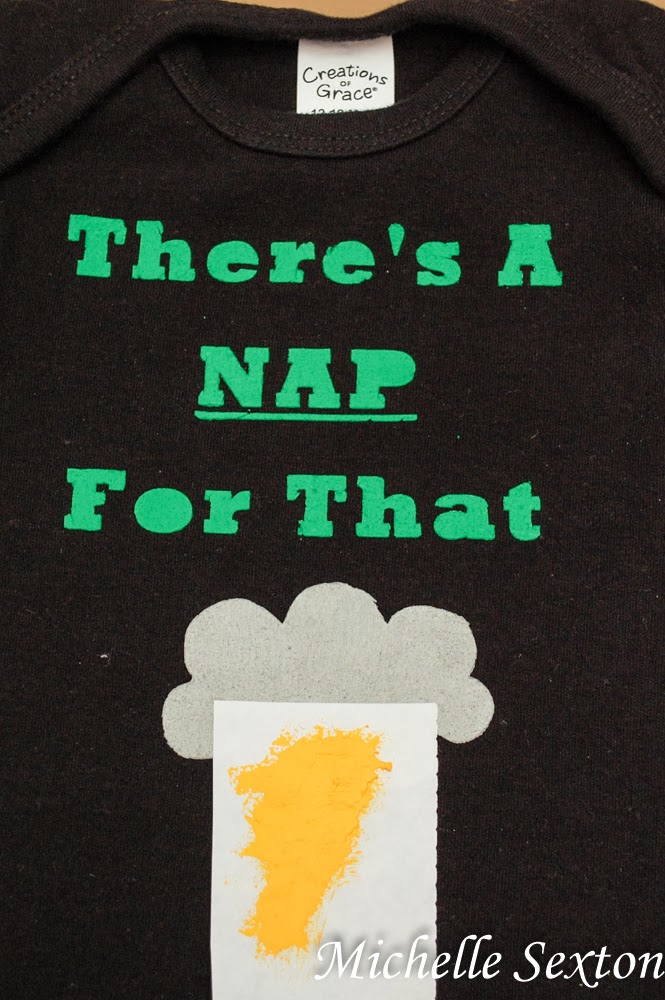
Using the foam brush, paint a thin and even layer over the letters and cloud in an up-down motion. (Side-to-side motions tend to make the paint seep underneath the stencil.) Avoid painting a thick layer of paint over the stenciled areas. Leave the stencil on the fabric and allow to dry. Add additional coats, if needed.
Once the paint is completely dry, gently and slowly peel the stencil freezer paper off the fabric. Press your fingers on the the painted shapes and letters as you peel the stencil from the fabric to prevent the paint from peeling up, also.
Gently iron the lightning bolt freezer paper stencil to overlap at the bottom of the cloud. Paint the lightning bolt and allow to dry completely before removing the stencil from the fabric.
So much fun, right? I had a ridiculous amount of fun making this onesie. I could hardly wait until the next day to put it on Cheese!
P.S. If you don't have a Silhouette Cameo, but you'd like to get in on the stencil-creating fun, Amazon has a great deal on a Starter Kit Bundle for under $300! This awesome tool can be used to create custom vinyl wall clings, cool printables for the kids and you can even swap the blade out for really awesome glitter pens and stuff to make super-creative crafts.
Please remember that you're free to use the ideas and materials in this blog for your personal use, but not for commercial use.


3 comments:
Won't the paint wash off in the wash machine??
Handj - it does not wash off. I figured this out by mistake a couple of years ago when I let my older son use acrylic paints without a smock. Oops! I just pulled the Nap Onesie out of the wash and none of the paint has washed off. :)
Adorable. @handj, there are also fabric/textile mediums you can add to your acrylic paints to improve adhesion and reduce the likelihood of cracking, peeling etc. Heat setting is also usually recommended.
Post a Comment