Hey! So, did you see last week's Hooded Denim Jacket DIY? If you missed it, you can find it here. I came up with an amazingly easy way to create a hooded denim jacket, without taking apart the hoodie or denim jacket and restitching it back together. Quick, go and see it. You do not want to miss out! Anyway, at the end of that post I told you I had one more amazing upgrade. Remember that? Have you been on edge for the last five days, waiting in great anticipation to see the awesome upgrade? I'm going to pretend like you said yes. So, today the icing on the cake is revealed with help from Stencil1 and FolkArt Multi-Surface Paints. I used a fantastic set of layered swallow stencils to create the finishing touches for my hooded denim jacket project. Are you ready to see it? (Because I'm dying to show you!)
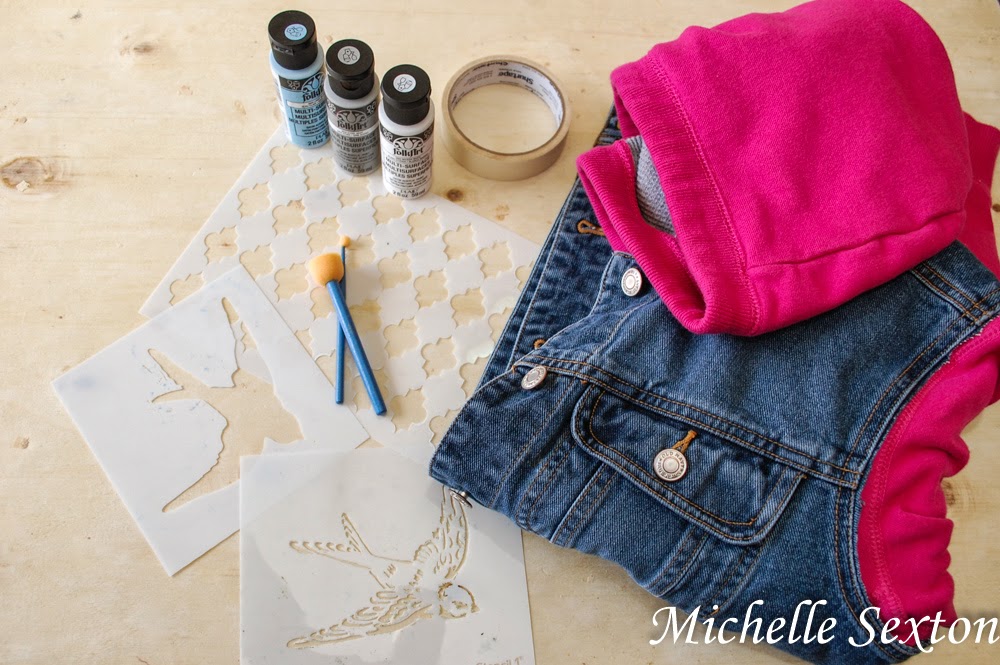
Here's what you need:
- Awesome Hooded Denim Jacket
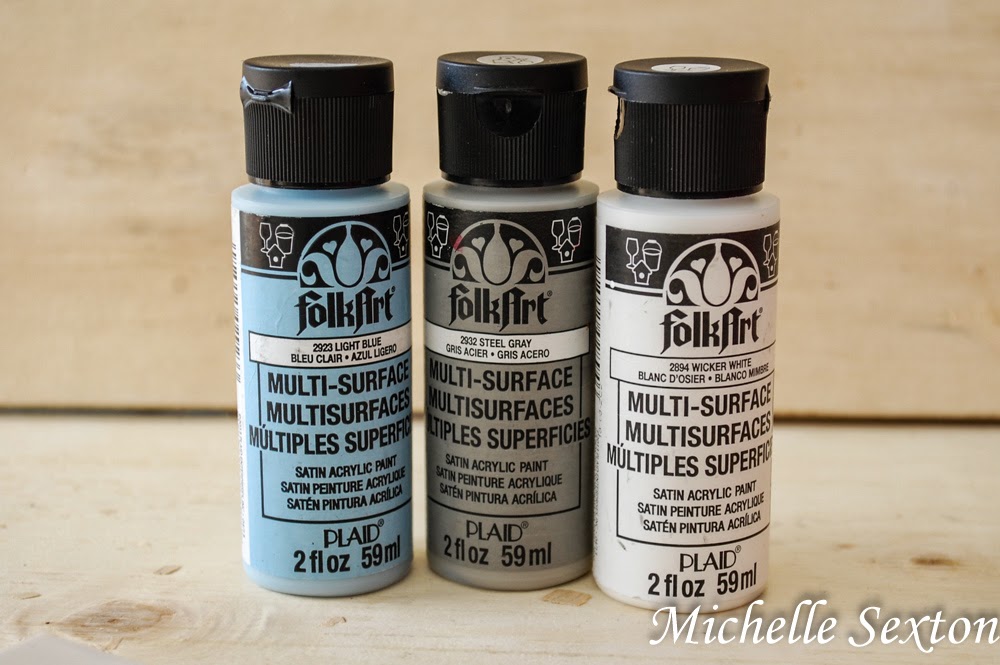
- Multi-Surface Paint like FolkArt
- Sponge Brushes
- Swallow Set Sencils
- Masking Tape
Here's how I made it:
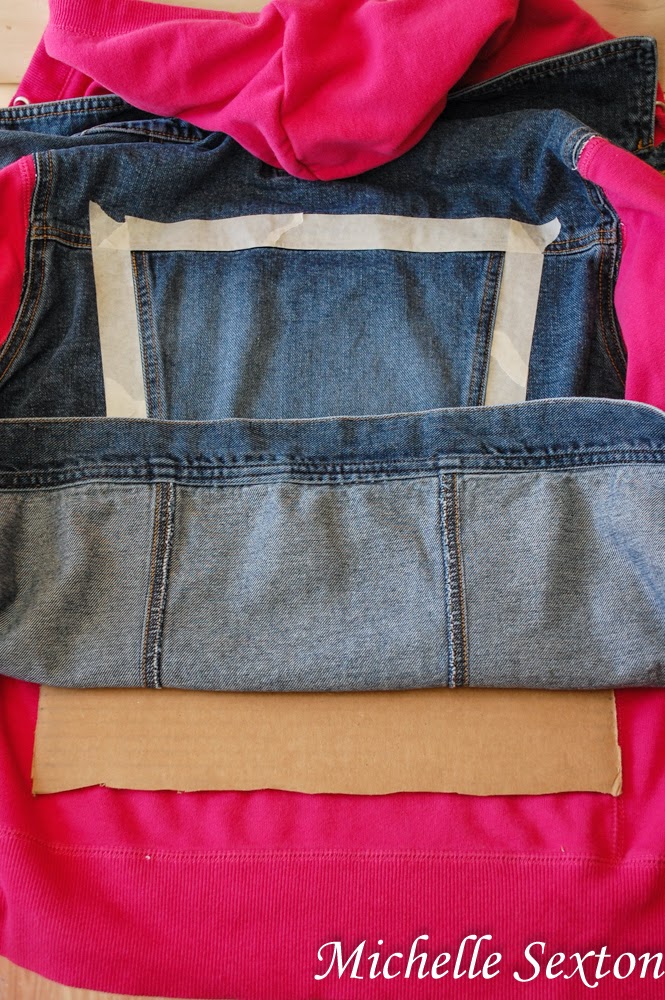
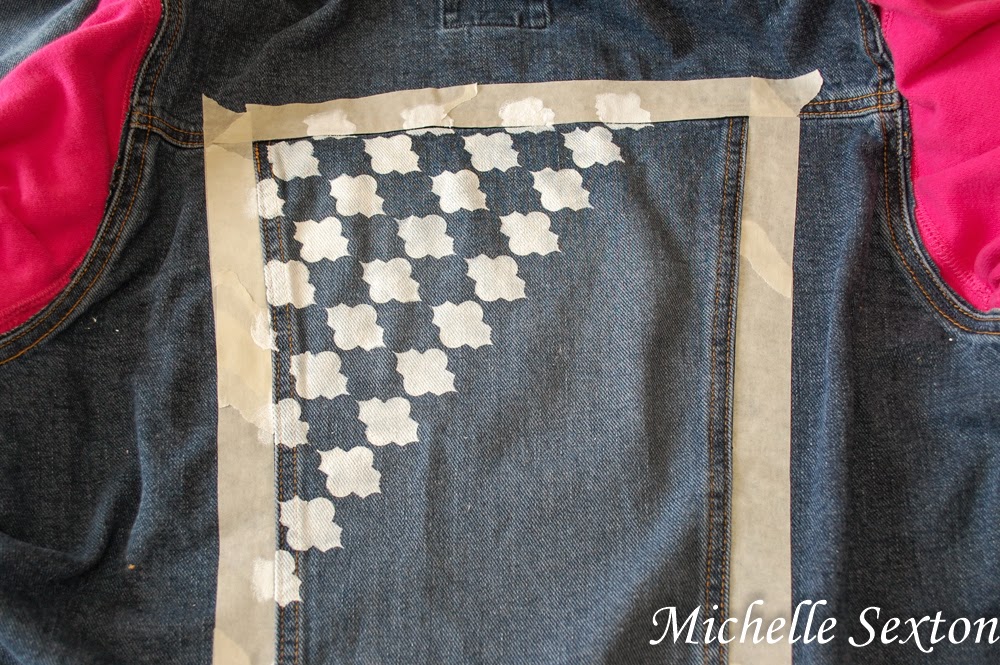
Before starting, make sure the surface of the jacket is clean and wrinkle-free. Open up the jacket so it lays on a flat surface. I recommend sliping an unfolded piece of cardboard underneath the denim. It provides a flat surface to work on and also prevents any chance of paint bleeding onto the fabric underneath the denim. Tape around the edges of the rectangle on the back of the jacket.
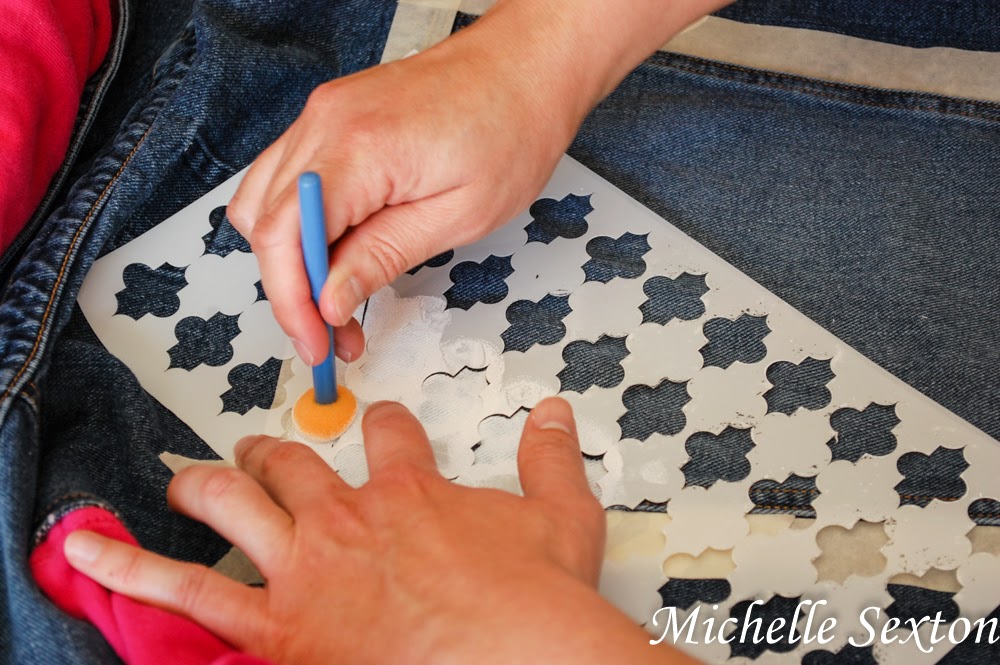
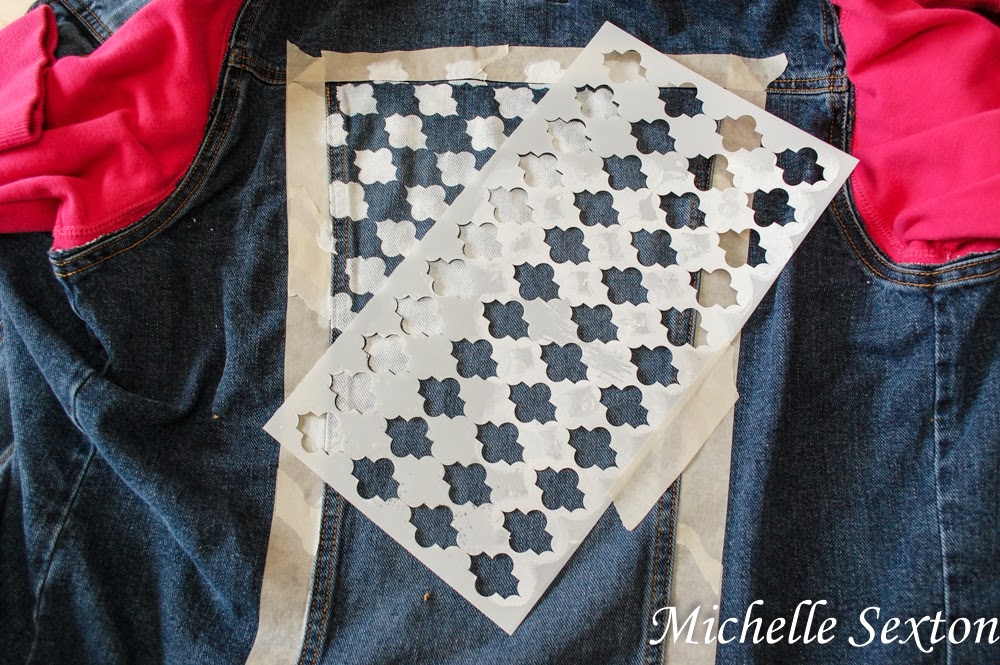
Place the patterned stencil at a 45 degree angle, making sure the shape starts at the top left corner of the rectangle. Place one small strip of masking tape on the edge of the stencil, just to keep it in place as you work. Using a sponge brush, gently dab the fabric overlaid by the stencil in an up and down motion.
Once all shapes inside the patterned section of the stencil have been used, peel the stencil in a gentle, upward motion. Allow paint to dry for at least 15 minutes, depending on how much paint was applied. Once painted fabric is dry, line up the patterned stencil with the a portion of the dried section, and apply paint, creating additional shapes and extending the pattern coverage. Repeat this process until the entire rectangle section is covered in the stencil pattern. (Don't forget to wash off the stencils afterward so you can re-use them later. These mylar stencils are durable and easy to clean.)
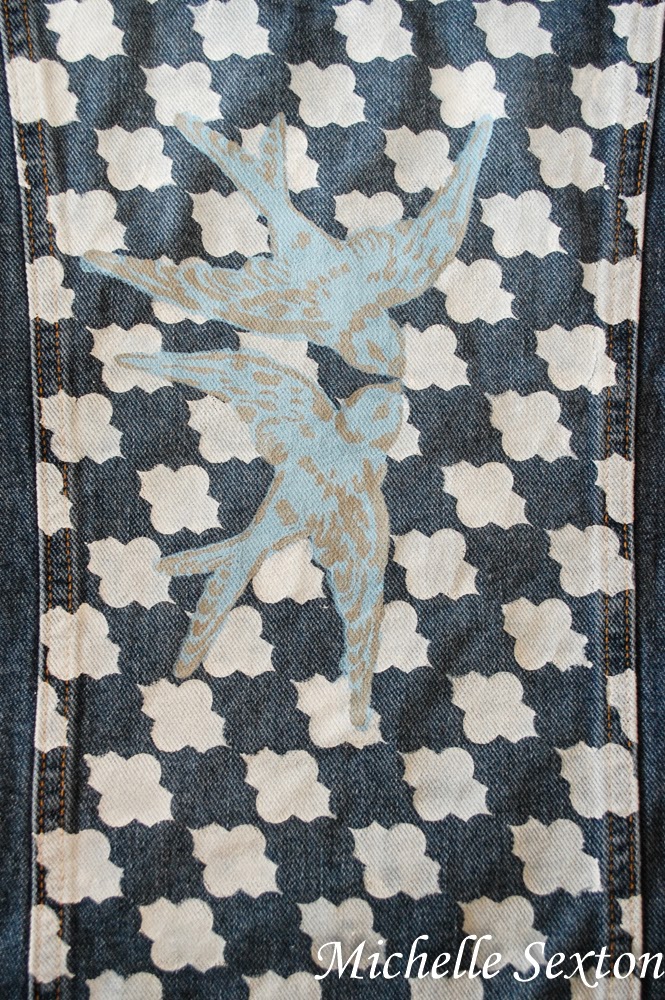
Once the patterned section is completely dry, position the bird silhouette stencil over the painted pattern section, and dab paint. Allow to dry completely. (I found that the bird silhouette needed an additional coat of paint. However, make sure to allow paint to dry completely before applying an additional coat.)
Once the silhouette has dried, paint an additional silhouette below the first bird.
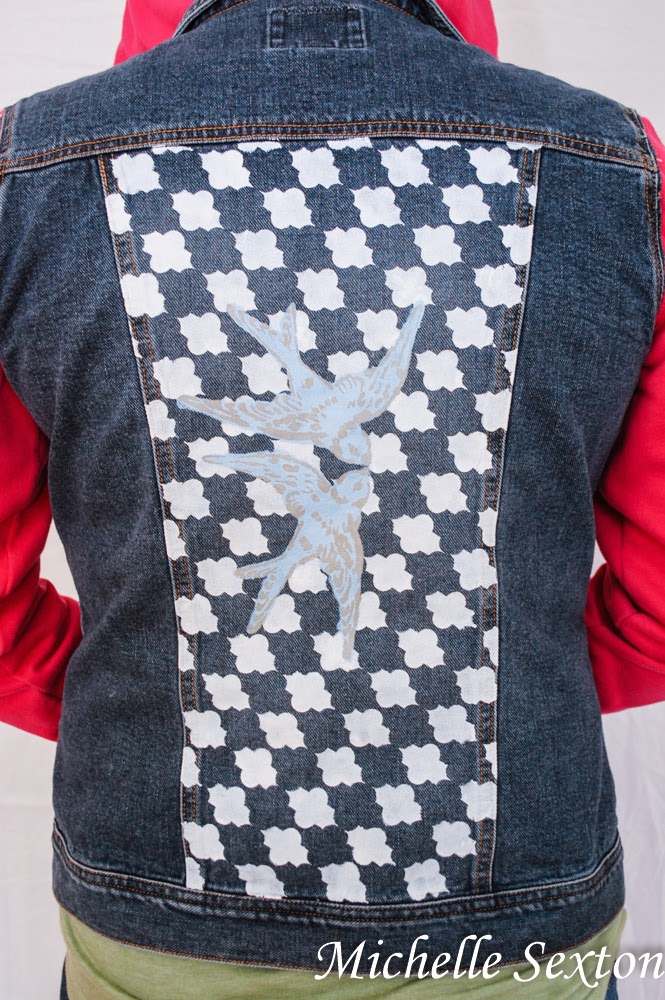
Finally place the bird detail stencil over the silhouette and dab. Allow to fully dry before adorning. (It's hard to wait, I know!)
Are you feeling the inspiration yet? Go make one for yourself! This stencil set and the rest of the collection can be found at Jo-Ann Fabric & Craft stores.
P.S. The FolkArt Multi-Surface Paint can be used on just about anything AND are even dishwasher safe! (gasp) I seriously love this paint.
Like what you see? Find more awesome stuff from Plaid Crafts here:







2 comments:
What a great project!
looks great! i'm gonna try this :)
Post a Comment